The installation is nearly identical for all versions of Windows (server and workstation) with the exception that 32-bit machines should run the x86 version of PowerShell and VS Code and 64-bit machines should use the x64 versions.
Base System Description
In my example, my Windows machine is running Windows Server 2019 (Standard) with the Desktop Experience (non-Core) install. It’s installed from an original ISO and the only thing I have done is disabled the Server Manager from auto starting. It’s pretty much a naked server.
I first ran through all the Windows Updates to make sure I had the latest patches, and then it was time to install PowerShell 7.
Install PowerShell 7
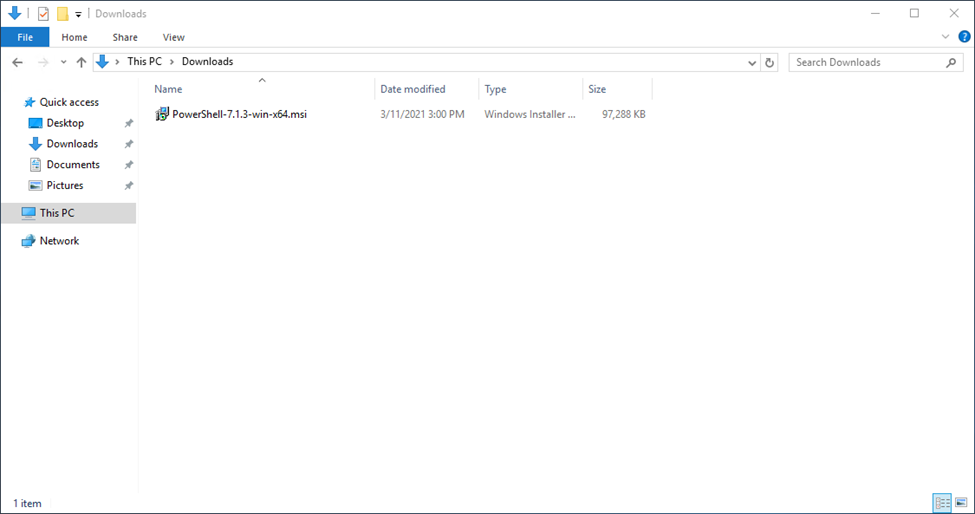
The installer for Windows is an MSI file which can be downloaded from the PowerShell GitHub releases. Just locate the latest stable version, find the MSI file for x64, and download it. (If you are running a 32-bit version of Windows, choose the x86 version.)

At the time of the writing, the most recent version was 7.1.3.
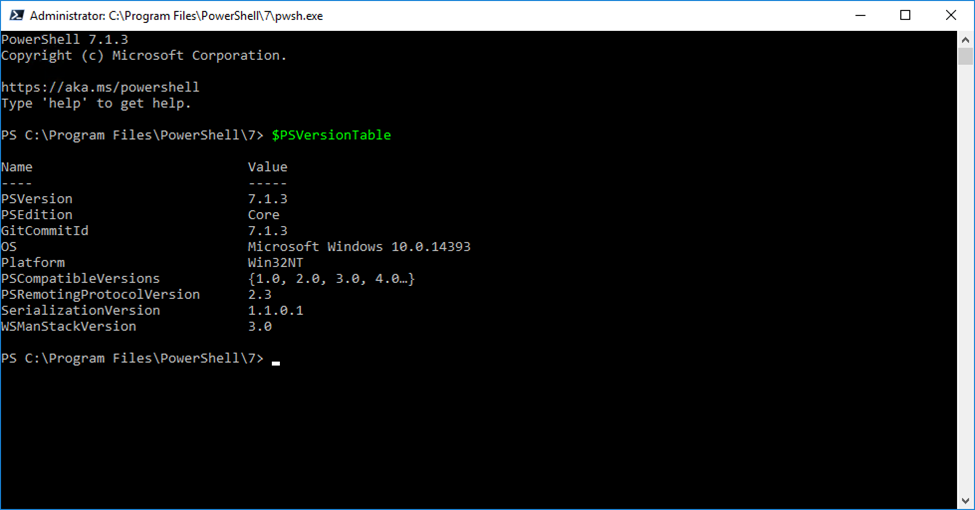
Once you have the MSI file, double-click on it to install. When you get to the end of the installation wizard, check the box to launch PowerShell 7 and type $PsVersionTable and hit Enter. You should see that you have a matching version installed.
We’re ready to move on and install VS Code.
Install Visual Studio Code
Like the PowerShell installation, go to the Visual Studio Code web site and download the most recent stable build for Windows.
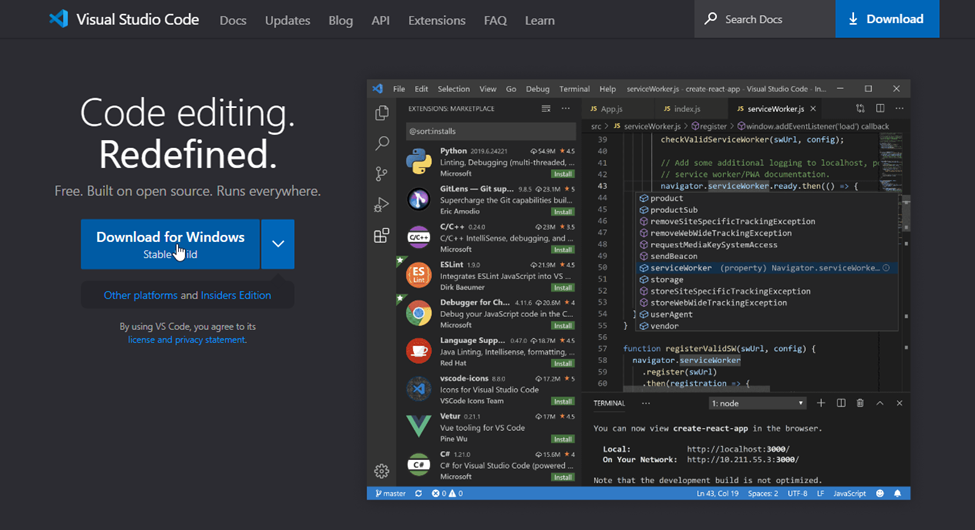
The version I received at the time of writing is 1.58.2.
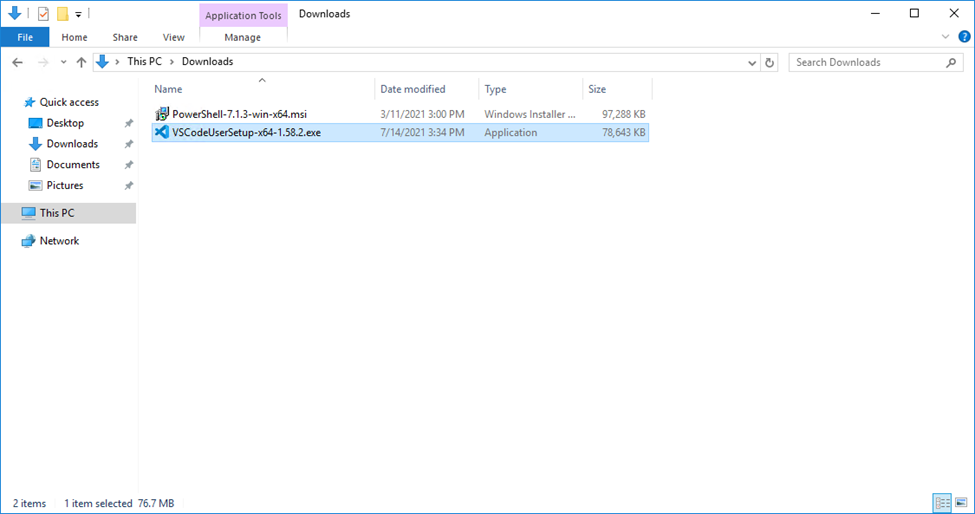
After download, run it on your machine, following the wizard and finish the install.
Next Step
Once you confirm that Visual Studio Code is installed on your system, you can continue to the [mention:205feeafde77418eb9b0d109c903fb05:6b577b8c04704e209d29b6772bf67243].