Navigate to the Blog in Question
Go to thwack.com and login. Navigate to the blog via Resources > Blogs > [Blog Name] or to the Product Newsroom via Products > [Product Name], and click Newsroom in the group header.

Figure 1: Navigating to the target blog for your post.
Create a Blog Post
Click the green NEW button to get started drafting your blog.
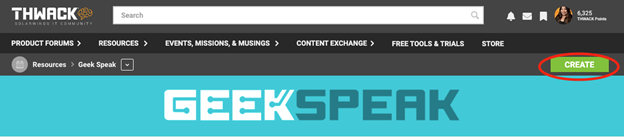
Figure 2: The Create Blog button used to start a post
Note: If you do not see the NEW button, contact the Community Team with your username and specify to which space you will need author access.
The Two Parts of the Blog Post
Blogs have a "Write" and an "Options" area. These control different aspects of the blog post and will be discussed below. Please see other recommendations on General Blog Post Best Practices - Solarian Central
Completing the Write Tab
When you first begin (or edit) an existing blog post, you will be put in the “Write” area (indicated just above the field for the title of the post).
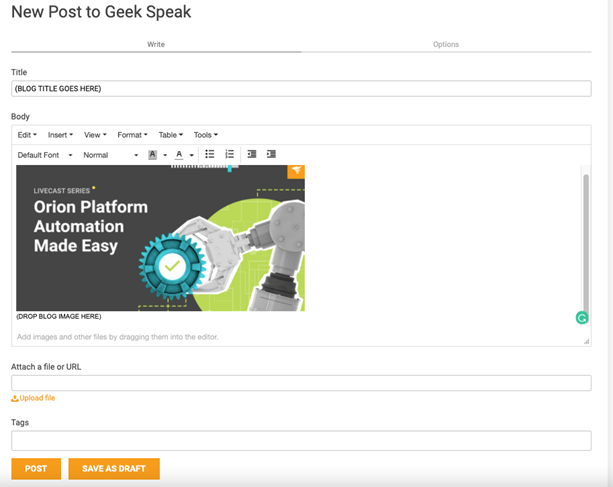
Figure 3: Completing the Write Tab
Inserting Images
There are a few ways to insert images. Please note that all images will be "inserted" at the current cursor position. These are listed below in preferential order.
- You can use the Insert > Image/Video/File from the toolbar, browse to the image in your file system.
- You can drag and drop the image from your file system.
- You can copy the image to your clipboard and paste it directly in.
Working from your “clean” copy of the content from Content Review, accept all changes and stop tracking. Additionally, if any comments contain links, be sure to put them on the words themselves in your document and then remove all comments (even if they are “Resolved”).
Next, copy your text from the CLEAN version of your content approved document. Make sure you check the body to ensure all hyperlinks have carried over.
Do not “sign” the post or include any social copy (typically near the end of the blog post after content and social review).
Tags
You can add as many Tags as you’d like. Some will pre-populate, but you’re also able to make new ones as you go. When possible, choose from the pre-defined list.
Completing the Options Tab
Once you are satisfied with the way the content appears (which you can double-check by going to Tools > Preview), click on the Options tab.
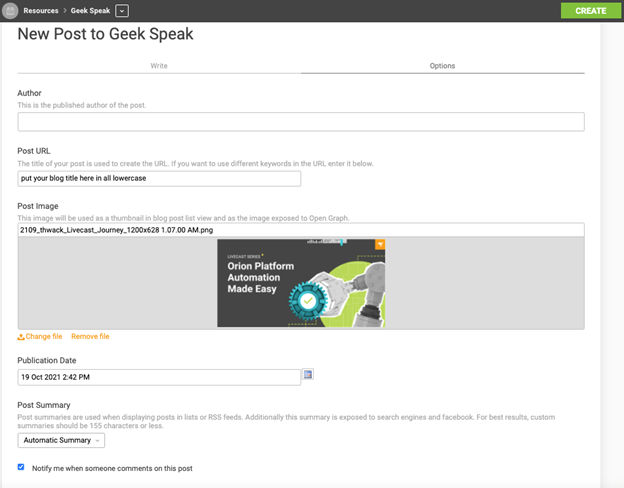
Figure 4: Completing the Options Tab
Author
Make sure your username appears under Author – it should be pre-populated. If you are authoring on behalf of someone else, change to their username.
Post URL
If you are posting a new post, leave the Post URL empty – it will automatically generate. If you are editing an existing entry, leave it as is.
Post Image
Under Post Image, upload your blog post image provided by the Creative Team.
Publication Date
The publish date is in your own time zone (as defined by your THWACK profile). Update this for the date on which you want the post to go live. Posts on any blog on THWACK are non-gated and will be available any time after the publication date/time. General recommendation would be between 10 a.m. and 2 p.m. for the area you are targeting.
Search Engine Optimization
No changes need to be made to this area unless this is a cross-post from another source. If this was posted elsewhere first, put that complete URL under “Canonical URL.”
Posting
If you’d like to continue working on your blog, you can SAVE AS DRAFT and come back to it later. Drafts are stored in the same area as Posts with a future publishing date (explained in the next section).
If the blog is ready, you can click POST and it will become available at the publication date/time.
Reviewing prior to Publication Date or Drafts
Once you’ve hit post, you can check on your blog by clicking the pencil in the upper, left-hand corner of the page. Then click Manage Blog > Posts.
Any drafts you may have saved will show up here under Unpublished. For anything that was posted instantly or scheduled to be posted for a later time, these will show up under All. You will see Published or Scheduled under the blog title.
You can access details about your blog post by clicking on the title or the body portion.

Figure 5: Viewing or Editing Unpublished Blog Posts
To continue the edit, click Edit.
To get the final post link for any Asana task, click View. The URL at the top is your post URL.