The purpose of this blog is to provide basic explanation of how variables and custom properties can be used in NCM scripts. Both of them enable network administrator to
- replace hardcoded statements by node-dependent values
- execute actions on many devices automatically, which means reducing the amount of tasks that must be performed manually
Examples of activities you may want to automate are
- Using scripts
- Downloading configuration files
- Uploading configuration files
- Uploading IOS images
- Updating login banners
- Updating access control lists (ACLs)
- Using config change templates
- Changing VLAN membership by device port
- Configuring device interfaces based on description
- Enabling IPSLA for VOIP implementations
- Managing NetFlow collection at the source devices
Custom properties enable you to attach additional information to your nodes to help you with e.g.
- Organization – physical location of the device, its purpose / category, distinguishing between testing devices and those in production etc.
- Bulk updates – create a custom property like ${NewIP}, populate with values and perform bulk update for all devices with one script.
- Customer support (e.g. for MSPs) – support contact information per device, SLA type, contract number, etc.
- Many other tasks where node-dependent information plays an important role.
Custom Properties Management
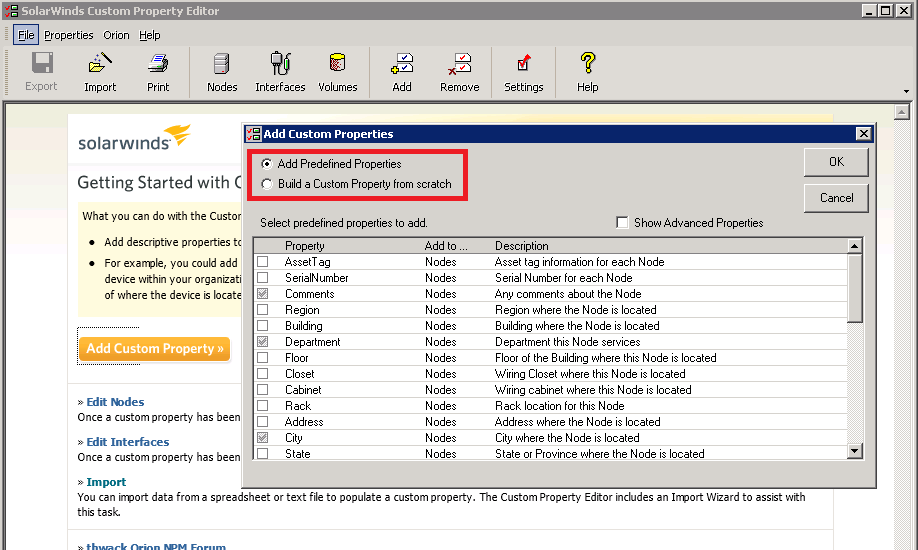
Custom properties must be first created using Custom Property Editor on your Orion server (Start -> All Programs -> SolarWinds Orion -> Grouping and Access Control -> Custom Property Editor).
You can either add some of the predefined properties, or build a property from scratch.
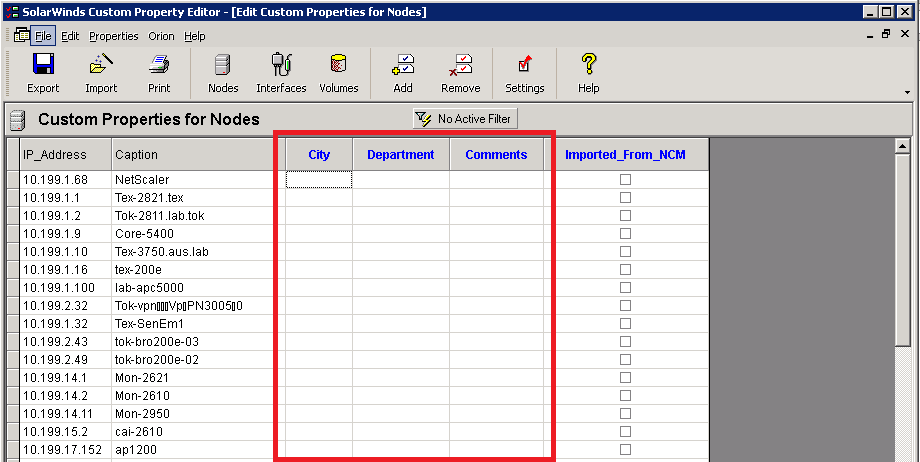
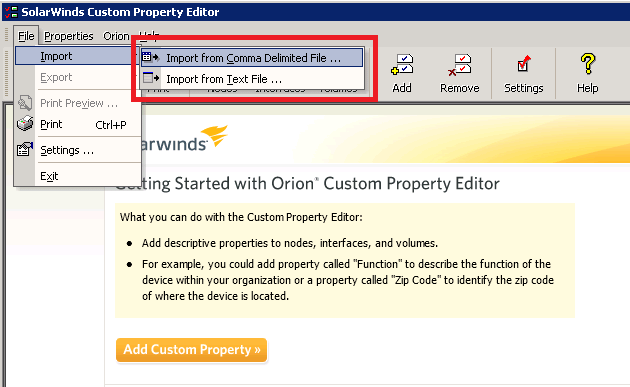
Then you need to populate the newly created properties with values.You can do it manually
or import the values from a file.
Command Scripts
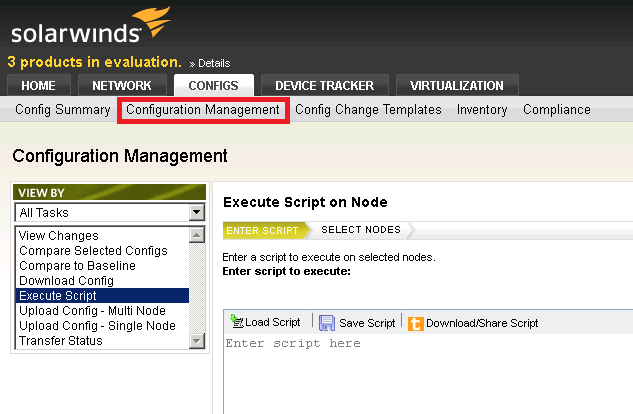
With the appropriate use of variables, a single script can be executed on several different devices, without concern for syntax differences. Scripts are delivered one line at a time to the target devices.
Variables and Custom Properties within Scripts
Variables and custom properties always begin with a dollar sign and a curly brace (${) and end with a curly brace (}).
Example: The following script contains commands with variables to remove the public read-only community string.
${EnterConfigMode} enter configuration mode – device-dependent
no snmp-server community public RO remove the community string – common for many devices
${ExitConfigMode} exit configuration mode
${SaveConfig} write configuration to memory
${Reboot} reboot the device
The script is parsed in a different way for e.g. Cisco IOS devices and e.g. a Dell PowerConnect switch. Device-dependent variables like the above ${EnterConfigMode}, ${ExitConfigMode}, etc. are defined in device command templates (located in <Orion directory>\NCM\Device Types).
Custom properties, previously created and populated in the Custom Property Editor, can be referenced in the same way – for example ${City}, ${Department}, etc.
Config Change Templates
Config Change Templates are even more powerful than the scripts alone; they have the power of a programming language that enables you to create very sophisticated config change routines.
Most fundamentally, the framework for creating config change templates depends on the SolarWinds Information Service (SWIS), an API installed with NCM that interacts with inventory data in the NCM database. Any device that has not been inventoried in NCM cannot be targeted with a config change template. Each object in a device inventory is a SWIS entity that can be referenced in specific ways within scripts.
Variables within Templates
Variables in config change templates always begin with an at sign, e.g.
@TargetPorts. Variables that you can use are given by the input parameters that you specified for your template. Example:
Note: Each template must have at least one parameter – the node. Other parameters are optional and depend on what you want to achieve with the template.
Please note that
@portItem is declared implicitly, i.e. when used for the first time.
Custom Properties within Templates
Custom properties are tied with nodes, and therefore can be referenced via the node parameter:
Assuming we have created and filled in the AssetTag custom property for our devices, we can make use of e.g. it in the following way to change access lists:
script ChangeAccessList (NCM.Nodes @ContextNode)
{
string @myip = '10.10.'
@myip = @myip + @ContextNode.AssetTag here we make the asset tag part of the IP address
@myip = @myip + '.32' finish building IP
CLI commands within a CLI block are sent to the device
{
configure terminal
no access-list 112
access-list 112 remark This is a test
access-list 112 permit tcp @myip 0.0.0.31 host 123.234.123.234 eq 445 include the IP with asset tag info in the access list
}
}